First i want to say, i am not responsible for any damage to your phone, expressed or implied, simply because this is a diy tutorial. USE THIS TUTORIAL AT YOUR OWN RISK!
That being said, let's get on with it.
I want to thank pinouts.ru for having a vast amount of information regarding pinouts for many items. hopefully you will be able to find the information you need.
I also want to thank bitpim.org for having the software needed to access my phone. With it you can transfer your phone book, pictures, and even custom made ring tones, along with other stuff.
I did this hack for two reasons, first, i didnt want to buy a usb cable for my phone. call me "cheap" but i did not see a reason to spend $30-$50 on a cable that i wouldnt use that often. second, theres no reason for me to spend $15/month for internet access on my phone, when i am only spending $10/mo for service. but still i wanted the freedom to take pictures with the phone and still be able to get the pictures off of it.
What you will need:
- a camera phone ( I used a Samsung A620/VGA1000)
- a mini usb connector (pulled from a dummy Blackberry)
- 80-pin ide cable(or other small wires)
- solder, soldering iron
- a little tape for insulation
- dremel or something to cut the phone shell
- magnifying glass or some way to make your soldering easier
- a lot of patience, massive amounts
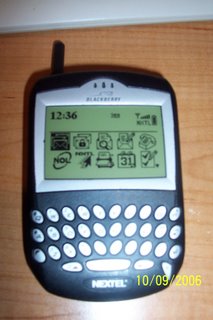
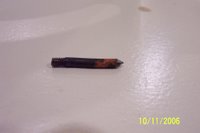
i had an old "dummy" Blackberry, you know, the "for display only" kind. so i took it apart and found many useful electronic items in it.
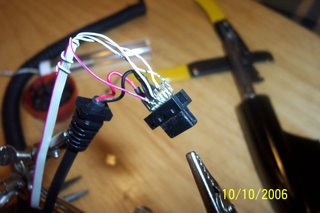
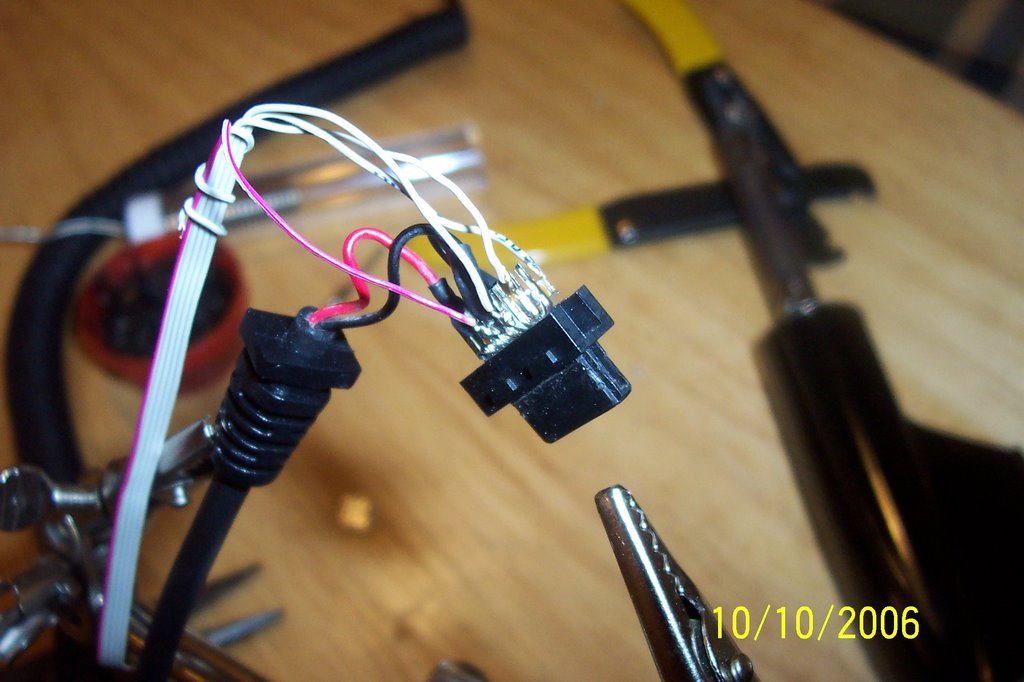
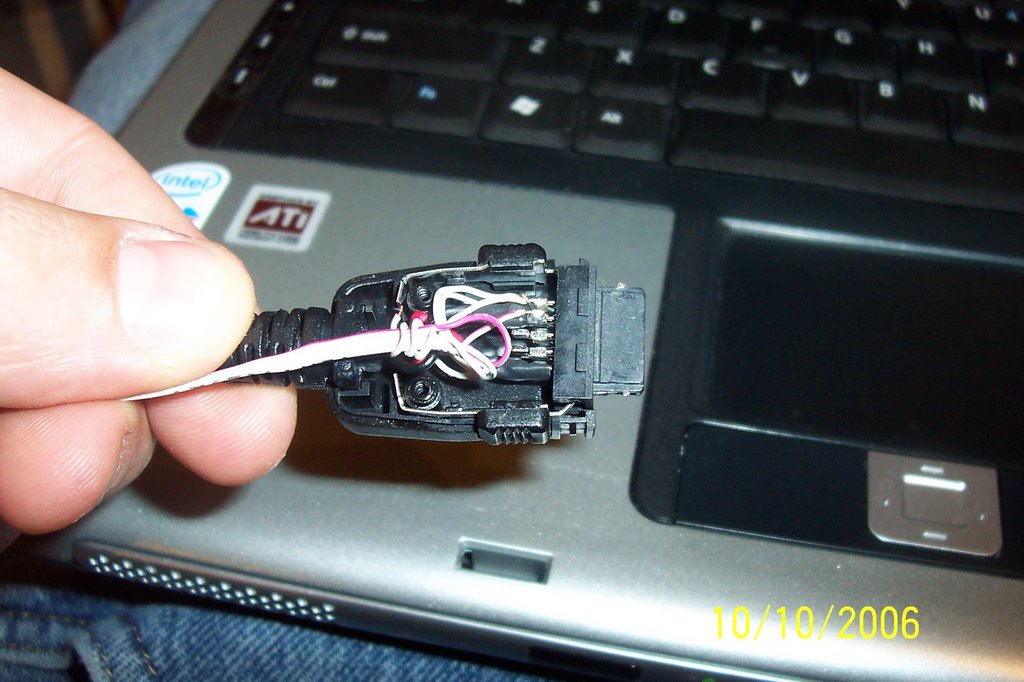
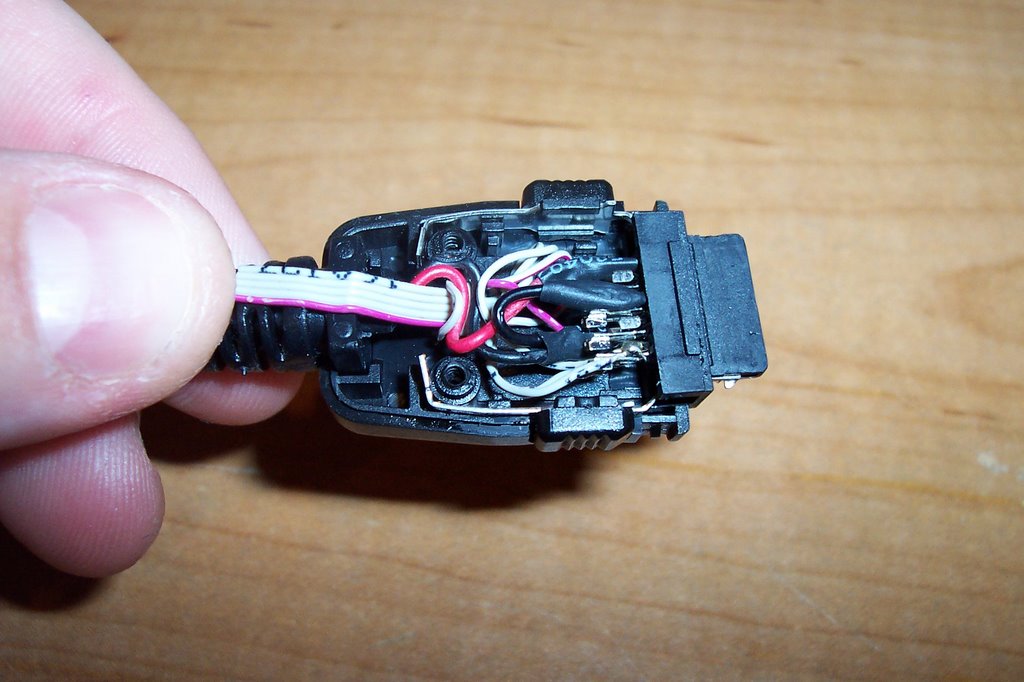
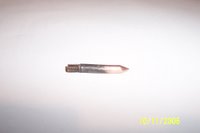
de-soldered the usb jack to use in my phone
then take a 80-pin ide cable, or whatever small wire you use for such projects, and strip the ends
carefully solder the wires to the jack. on mine i wanted to use the red wire as my the #1 pin for easier wiring, but when i double checked it, i wired it backwards, so now my red wire is the #4 wire.
once you get your usb cable ready we move to the fun part
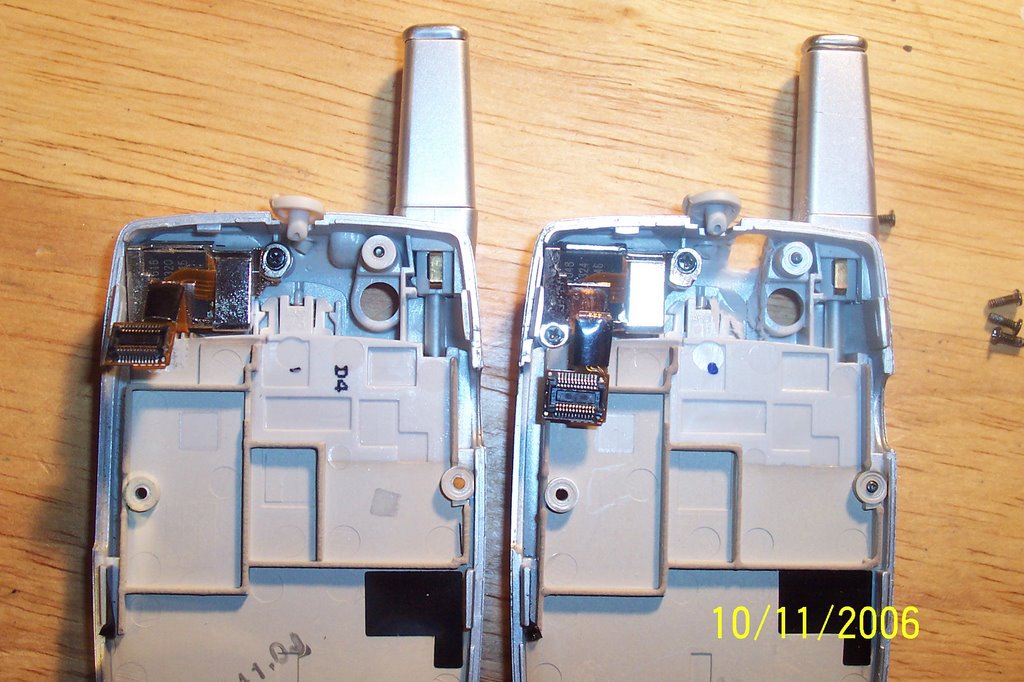
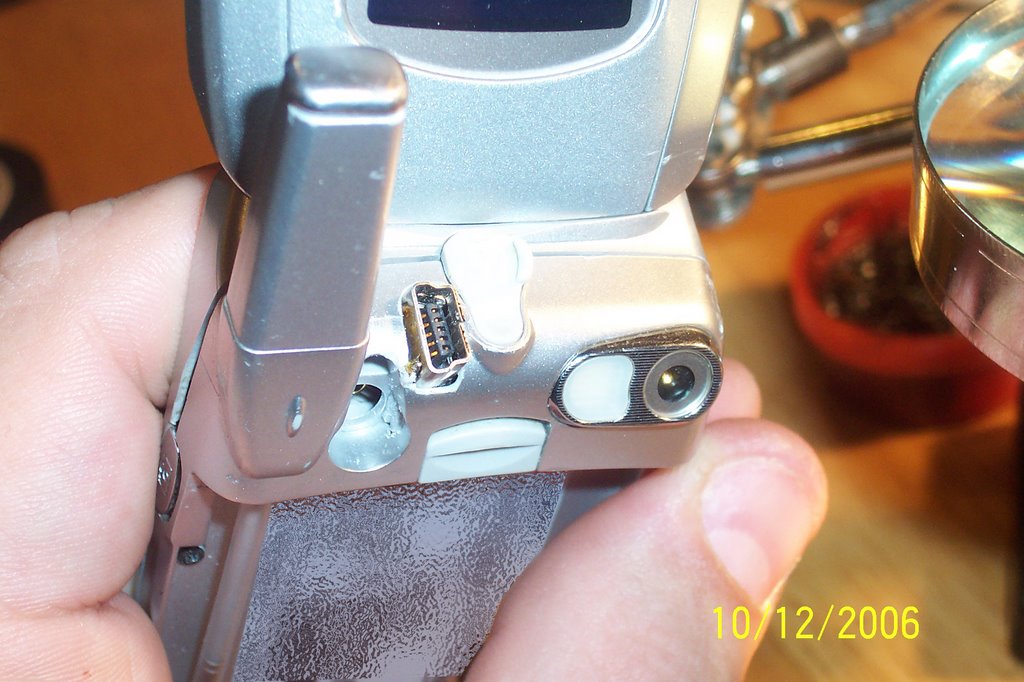
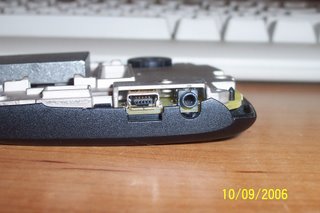
you need to disassemble your phone and find a location to put the usb port. i think if you have an older phone it should be simple to find a spot. mine was in place of the carrying strap, which i really didnt need.
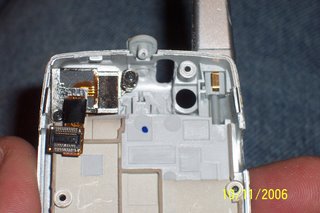
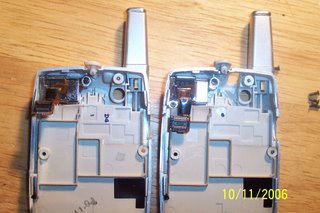
slowly cut out the space you need to install the usb port. take your time, especially if its the only phone you have. i was lucky that i had a second, non-working A620 i could try it on. just in case it didnt work i would still have a working phone.
heres a picture showing before and after the modification of the shell.
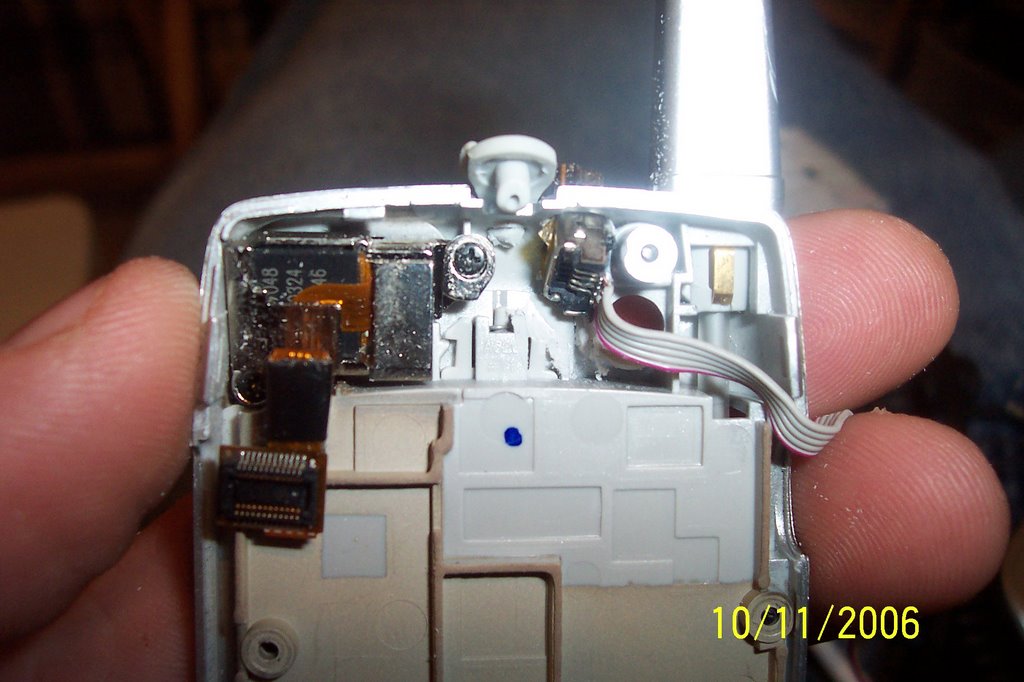
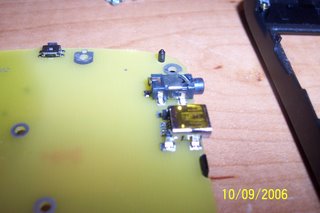
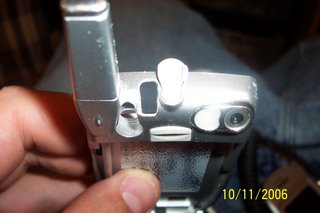
this is the fitting stage. keep trying to get the usb jack to fit. trim a little here and there, bend the tabs on the usb jack, just do what you have to to get it to fit. but keep in mind you want this phone
functional when your finished. dont just get the usb jack to fit, you need to do a mock assemble, a "dry run", and put the phone back together to make sure everything still goes back together.

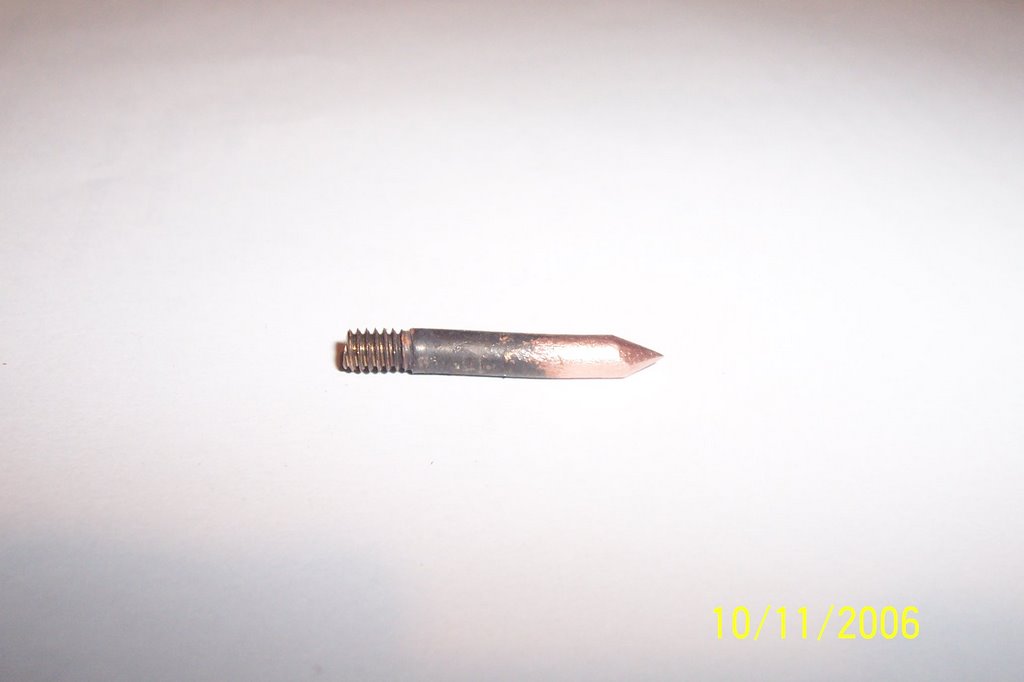
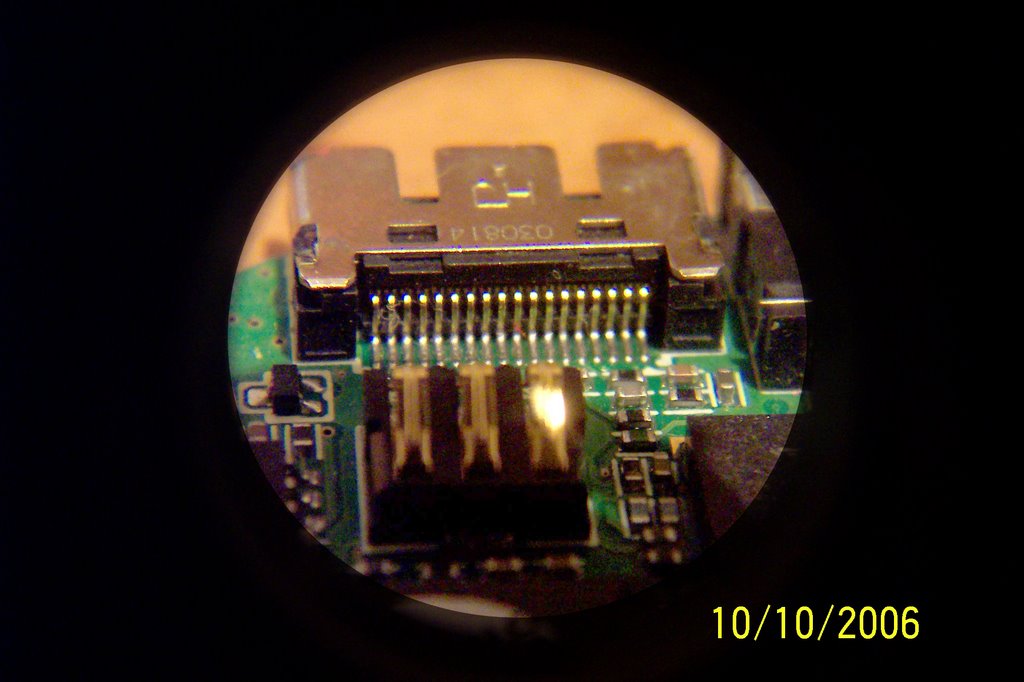
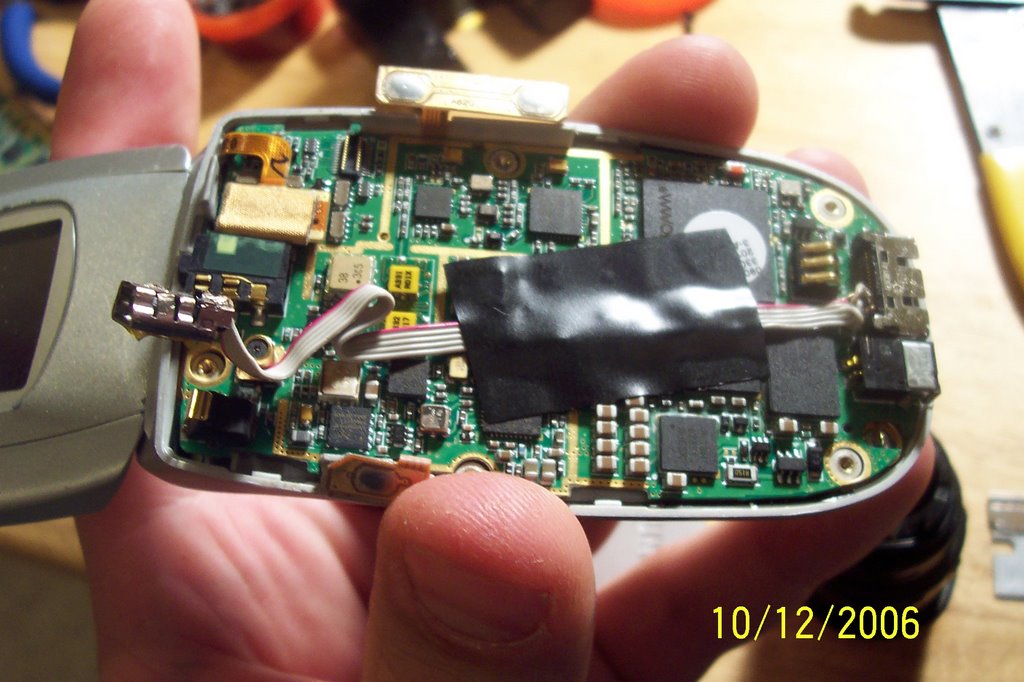
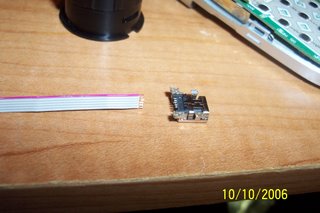
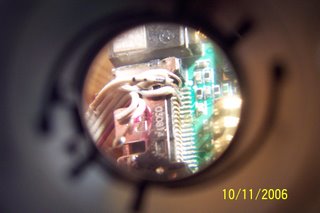
now as far a the phone goes, realize that everything is tiny, and to work on it you need tiny things. i had to modify my soldering tip (just used a wheel grinder on it) to work on this project.
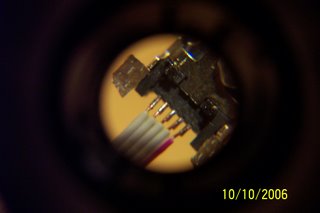
this is why i ground it down. (those three connectors in the foreground connect to the battery pack), pretty tiny, eh

sorry about the pictures, its difficult to snap a clear shot while holding a magnifying lens.
 it took me about an hour and a half to solder 4 wires. 1 1/2 hours!
 the reason is that i took my time. and this is what i found out that will help you out on yours:
put enough solder on the wire just to change its color. copper to silver. if you have a "blob", no matter what size, its too much. do this to all the wires before you start, because its a real pain trying to do it when some of the wires are already soldered
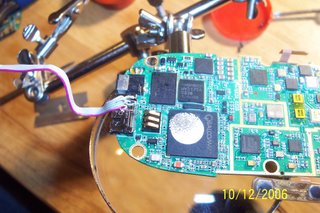
when you are finished connecting the wires, apply a little tape to help hold it in place and it help with insulation also. as you go to assemble everything take your time, you got this far, dont break something because youre rushing to get it back together.


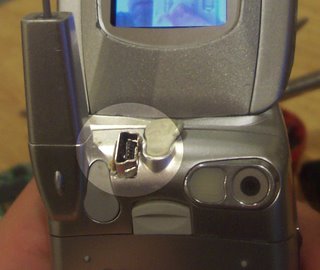
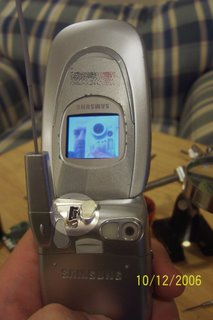
i took this picture to show that it still functions. hope yours comes out just as nice or better
 do more research:
- find out all the information you can on your phone to see if its possible to do this
- gather pinout information, schematic, diagrams or look for someone else that done it on your style phone
- i found out that i needed a certain winXP driver for my phone to be recognized, do the same for yours
- its always nice to have a backup, ask friends, family, coworkers if they have any non-working or unused phones that you can practice on before attempting modification on yours
- as always -have fun!-
Click here to see how to get the same benefits without cutting up your phone


 So you dont want to cut up your phone....( if you do... )